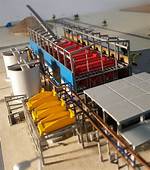
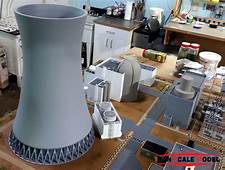
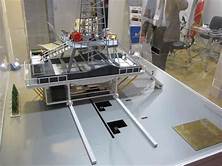
implementation consultation Industrial replica In Tehran stone Industrial City
You can introduce your business services or products in this section.
For this purpose, be in touch with us.
The Falcon S Series is a tank floor scanner based on Saturation Low Frequency Eddy Current Technique. It scans tank floors by saturating the floor plates with an electromagnet and then using Eddy Current to detect defects in the plate as it scans over it. With this technique we are able to detect pits, holes, cracking, and wall loss while differentiating the orientation of the flaw depending on if it is a top side or bottom side flaw. The highly sensitive nature of eddy current allows the scanner to detect and size top side and bottom side pitting, and localized wall loss. Additionally, The Falcon S Series can detect cracks. Falcon S Series to scan through non-metallic coatings of up to . in. (mm)
Quick, Reliable, Durable & Proven Design. It is virtually foolproof and indestructible. Seal off one end of the suspect tube(s) with either a rubber tube plug or the T-Handle with an attached nozzle; then insert the Vacuum Leak Detector into tube to be tested and depress the trigger, a loss of vacuum indicates a leaking tube. It has a filter system to prevent debris inside the tube from clogging the tool.
It s very accurate. Wall thickness measurements can be made, with the use of a MHz-focused transducer, to an accuracy of within .mm. IRIS is an ultrasonic based system for inspecting ferrous and nonferrous tubes from the inside. It is applied on almost any material. With the IRIS, accurate thickness measurementscan be taken at any location along the tube, so small changes in thickness are measurable and the exact location of pitting and corrosion can be determined. It is a fairly sensitive technique. The sensitivity achieved will depend on tube dimensions and tube cleanliness. In general, it can be stated that, it should be possible to detect a .mm defect in tubing up to inch which has been properly cleaned.Both ferromagnetic and non-ferromagnetic tubes can be inspected A three dimensional picture of the defect is obtained, thus the defect profile and its depth is provided.
Visual testing is used for the detection of surface flaws and discontinuities. The effectiveness of the technique can be enhanced through the aid of such tools as mirrors, magnifiers, fiberscopes, etc. Quantification of indications can be augmented through the use of tools such as depth gauges, templates, displacement gauges, etc. AITIS team for Visual Inspectors are Certified and Experienced as well. We have a number of Certified Visual Inspector from ASNT, API, CSWIP / AWS, NACE and BGAS.
As a result of welding processes used to join metals together, the base materials near the weldment, the deposited weld metal and, in particular, the heat affected zones transform through various metallurgical phases. Depending upon the chemistry of the metals in these areas, hardening occurs in various degrees, dependent mainly upon carbon content. Again, this is particularly true in the heat affected zone (HAZ) adjacent to the weld metal deposit where the highest stresses due to melting and solidification result. PWHT, is designed to relieve a proportion of these imposed stresses by reducing the hardness and increasing ductility, thus reducing danger of cracking in the vessel weldments.


